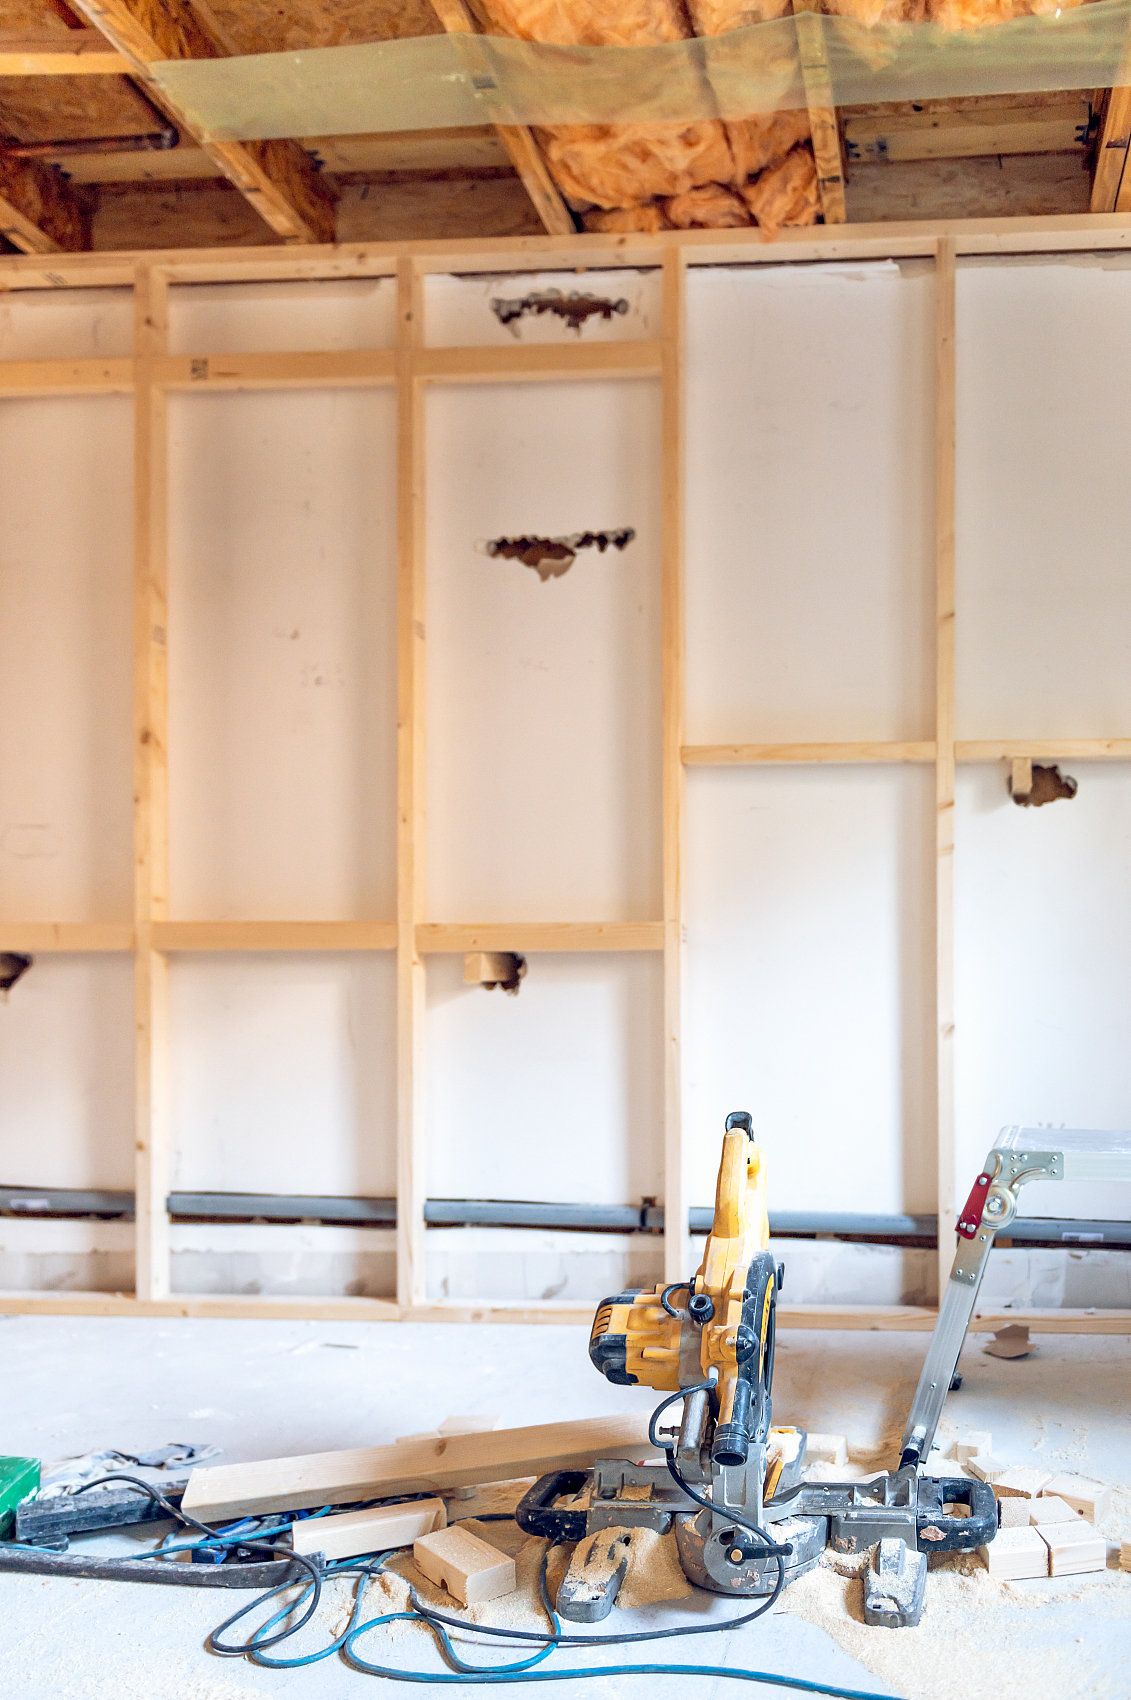
Just like other parts of your home, doors need regular care and occasional repairs to stay in good shape. Most tasks, such as painting, are easier when you take the door off its hinges first. While unscrewing hinges from the door seems simple, doing this repeatedly can damage the screw holes, making it tough to reattach the hinges later. A better approach is to remove the hinge pins and lift the door off the frame.
Removing hinge pins may seem trickier than unscrewing hinges, but with a bit of practice, it’s a straightforward DIY task. Here’s a simple guide to help you get it done smoothly.
Types of Hinge Pins
Before you start, it’s important to identify which type of hinge pins your door has:
- Removable hinge pins: Usually found on interior doors, these can easily be tapped out with a hammer and nail punch, making door removal easy.
- Non-removable hinge pins: Commonly used on exterior doors for security, these have a small set screw visible only when the door is open. You’ll need to remove this screw first to take out the pin.
What You’ll Need:
Tools:
- Hammer
- Wedge (optional for stability)
- Nail punch
- Flathead screwdriver
Materials:
- WD-40 (or similar lubricant)
- Scrap cardboard
Step-by-Step Guide to Removing a Door Hinge Pin
1. Secure the Door To prevent your door from falling or damaging the hinges, slide some scrap cardboard underneath to support its weight. It’s also helpful to have someone hold the door steady.
2. Find and Remove the Set Screw (if applicable) For non-removable pins, first open the door and look for a small set screw on the hinge’s knuckle. Unscrew it carefully. Skip this step if your door has removable hinge pins.
3. Apply Lubricant Spray a little WD-40 onto the hinges. This makes it easier to remove the pins, especially if they haven’t been moved in a while.
4. Loosen the Pin with a Hammer and Nail Punch Start with the lowest hinge on a two-hinge door, or the middle hinge on a three-hinge door, to keep the door balanced. Place your nail punch underneath the hinge pin and gently tap it with your hammer. Begin lightly, gradually tapping harder until the pin starts moving. Small taps are safer and more effective than heavy hits.
5. Pry the Pin Up Once you see the hinge pin sticking out a bit, slide a flathead screwdriver under its head and carefully pry it upwards.
6. Remove the Pin and Door When the pin is sufficiently out, simply pull it out by hand. Repeat these steps for any remaining hinges. With the pins removed, carefully lift the door off its hinges. Having someone assist you is helpful, especially with heavier doors.
Following these steps will help you safely remove your door without damaging the hinges or frame, making your maintenance projects easier and more effective.