Easy Guide to Removing Snow from Your Roof Safely
When snow piles up on your roof, it adds a lot of extra weight. If left unchecked, this buildup can lead to serious issues, such as structural damage, leaks, and ice dams. One of the best ways to clear snow safely is by using a roof rake.
What Is a Roof Rake?
A roof rake is a handy tool designed to remove snow from your roof without needing to climb up. It typically has a long, extendable pole that lets you reach the roof while staying on the ground, helping you avoid dangerous, icy ladders.
Why Should You Remove Snow from Your Roof?
It may seem like snow is light and harmless, but it can be surprisingly heavy. Just one inch of snow weighs about 1.25 pounds per square foot. If you get a foot of snow, that adds up to 15 pounds per square foot! Most roofs are built to hold around 20 pounds per square foot, but older homes or flat roofs may handle even less.
If you don’t clear the snow, the weight can strain your roof and may cause it to collapse. Plus, melting snow can seep under shingles, causing leaks inside your home. It can also clog gutters and create ice dams, which damage the roof and siding.
Tools and Safety Gear You’ll Need
- Roof rake (with a telescoping handle for easy reach)
- Shovel (to clear snow from the ground afterward)
- Safety gear: Hard hat, safety glasses, gloves, warm boots, and winter clothing

Steps to Safely Remove Snow from Your Roof
1. Check If Snow Removal Is Necessary:
Generally, it’s time to clear the snow if it reaches six inches to a foot deep. Be extra cautious if snow is followed by rain or mild temperatures, as wet snow is much heavier. Also, stay updated on the weather forecast to clear snow before the next storm piles on more.
2. Prepare the Area and Wear Safety Gear:
Before starting, move vehicles and cover any plants to protect them from falling snow and ice. Dress warmly and wear safety gear like a hard hat and safety glasses to stay protected.
3. Start at the Roof Edges:
Assemble your roof rake and begin clearing snow from the edges. Position the rake a couple of feet from the edge and pull down gently. Avoid applying too much pressure to prevent damaging shingles. Let gravity help you remove the snow.
4. Clear Snow in Sections:
Work your way up the roof in sections of two to three feet at a time. Be careful around gutters, vents, and chimneys. When raking near skylights, avoid scraping over the glass to prevent damage. Clear vents to reduce the risk of ice dams forming.
5. Shovel Snow from the Ground:
After you finish raking the roof, use a shovel to clear the snow from around your home, especially near downspouts, to prevent blockages in your gutters.
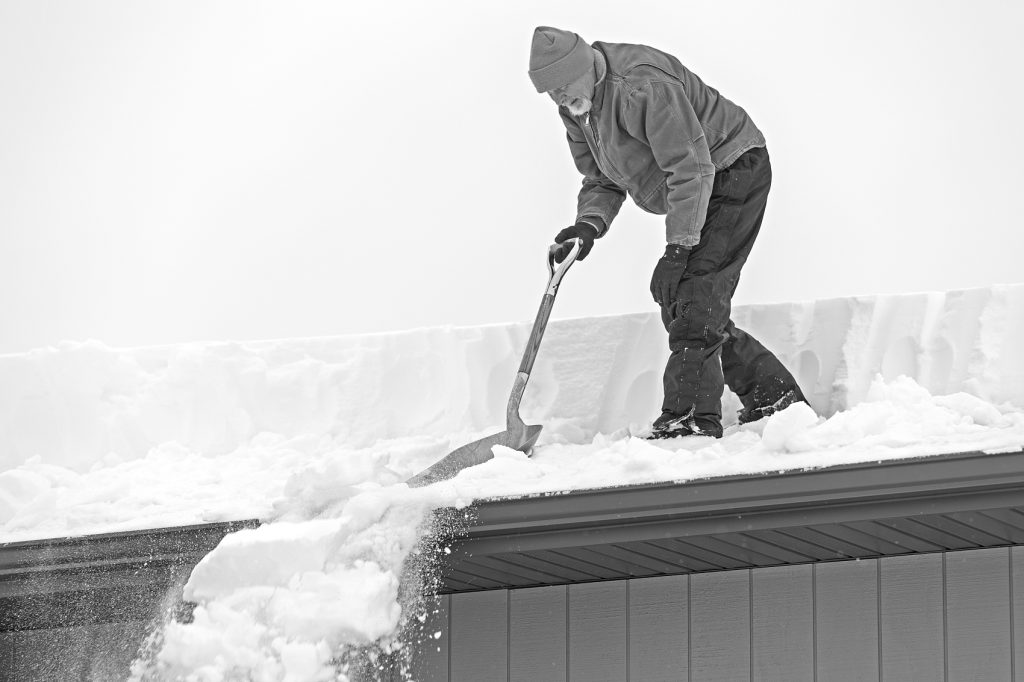
Important Safety Tips
- Choose the Right Roof Rake: Make sure it has an extendable handle so you can reach the roof without overextending.
- Wear Protective Gear: Always wear a hard hat, safety glasses, gloves, and warm clothing.
- Don’t Work Alone: Have someone nearby to help or call for assistance in case of an emergency.
- Stand Clear of Falling Snow: Never stand directly under the area you’re clearing to avoid injuries from falling snow or ice.
- Avoid Using Excessive Force: Let the rake glide naturally without pressing too hard to prevent shingle damage.
- Watch for Power Lines: Stay clear of power lines when using the roof rake.
- Know When to Call a Professional: If you’re unsure or it feels unsafe, hire an expert to clear the snow for you.
By following these simple steps and safety tips, you can keep your home safe from winter damage while staying safe yourself.


