Transforming your outdoor space with a paved area can greatly improve both its look and functionality. One easy and popular way to do this is by laying paving slabs on a bed of sand. This method is not only DIY-friendly, but it also provides a stable, long-lasting foundation for your patio or walkway. In this guide, we’ll walk you through the simple steps to help you create a beautiful outdoor surface that stands the test of time.
Why Use Sand for Laying Paving Slabs?
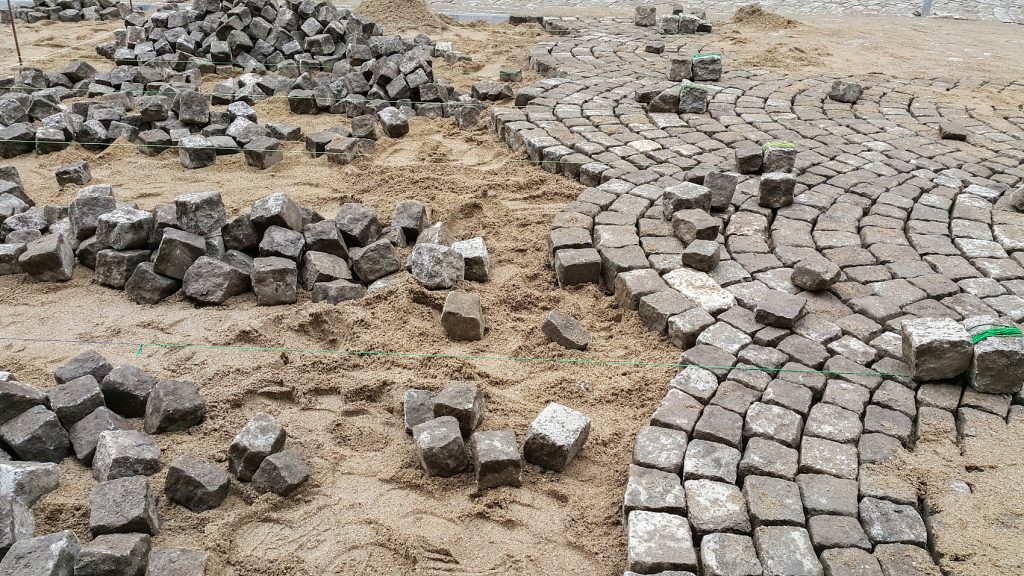
Laying paving slabs on sand is a straightforward process. It involves preparing a solid base by excavating the area, spreading a layer of sharp sand, and then placing the slabs on top. The sand acts as a level surface and allows for easy adjustments to ensure the slabs are aligned properly.
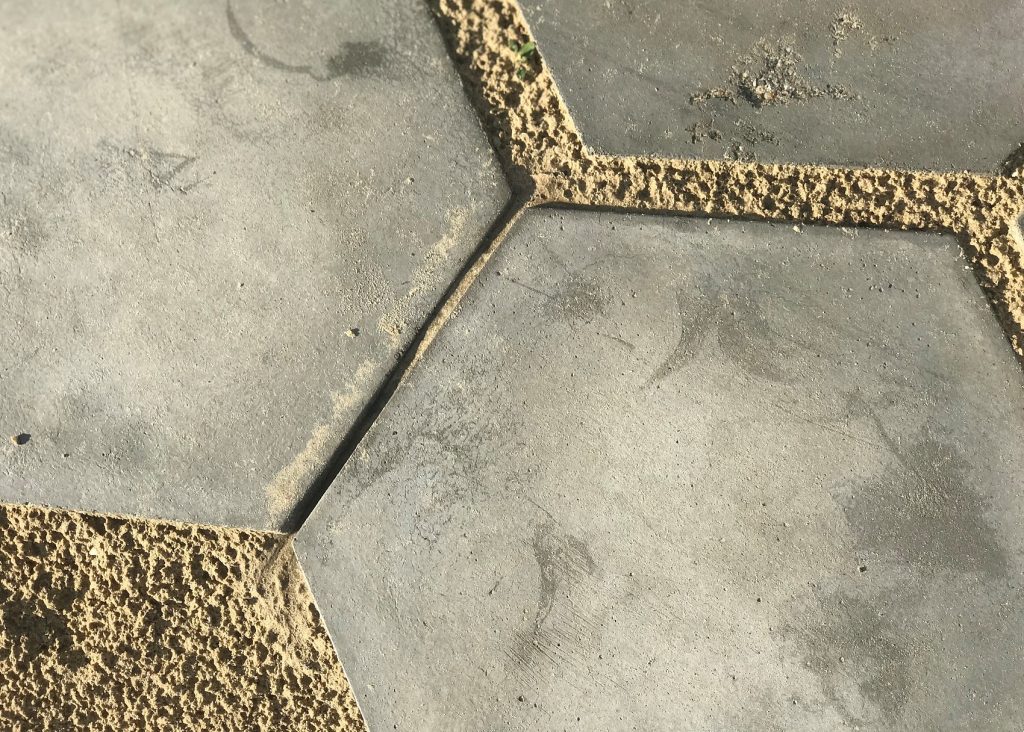
To ensure the stability and longevity of the paved area, it’s important that the sand bed is compacted and leveled. Once the slabs are laid, filling the joints with kiln-dried sand secures them in place, providing a smooth and durable surface. This method is perfect for patios, walkways, and other outdoor areas, giving you both beauty and practicality.

Potential Issues to Be Aware Of
While laying paving slabs on sand is a common practice, there are a few challenges you should keep in mind to ensure the job lasts. Here are some potential pitfalls:
- Instability: If the sand bed isn’t compacted properly, the foundation can become unstable. This might cause the paving slabs to shift or sink over time.
- Weed Growth: Weeds can grow through the sand joints if you don’t take steps to prevent them, like using a geotextile membrane. This could affect the appearance and require extra maintenance.
- Poor Drainage: If your area doesn’t have proper drainage, water could pool on the sand, eroding the surface and undermining the stability of the slabs.
- Shifting and Erosion: Environmental factors, such as water erosion, can cause the sand to shift over time, potentially affecting the levelness of your paved surface.
- Ant Nests: Sand can attract ants, which may build nests underneath the slabs, leading to instability and potential damage.
- Freeze and Thaw: In areas with cold winters, the freeze-thaw cycle could cause the slabs to lift or settle, compromising the surface.
To avoid these issues, make sure to follow best practices—like properly compacting the sand bed, using a geotextile membrane to prevent weeds, and ensuring good drainage. Periodic maintenance, such as refilling the joints with sand, will also help keep the surface in top shape.
Step-by-Step Guide to Laying Paving Slabs on Sand
Here’s everything you need to get started, along with the tools and materials you’ll need:
Materials:
- Paving slabs
- Building sand
- Geotextile membrane (optional)
- Cement
- Edging stones
- Wooden pegs
- String
- Water
Tools:
- Shovel
- Spirit level
- Rubber mallet
- Wheelbarrow
- Plate compactor (or hand tamper)
- Trowel
- Broom
- Safety gear (gloves, safety glasses)
Step 1: Plan and Measure
Start by planning the layout of your paving. Measure the area and mark the perimeter with wooden pegs and string. If drainage is a concern, make sure to add a slight slope away from any buildings.
Step 2: Excavate the Area
Remove any grass or plants, then excavate the area to a depth of about 6 inches (150mm). Ensure the ground is level and compact the soil with a plate compactor.
Step 3: Add a Geotextile Membrane (Optional)
For added stability and to prevent weed growth, lay a geotextile membrane over the prepared area. Trim any excess and secure it with pegs.
Step 4: Install Edging Stones
Place edging stones around the perimeter of the area to hold the paving slabs in place and provide lateral support.
Step 5: Create the Sand Bed
Spread a 2-inch (50mm) layer of sharp sand over the area, making sure it’s level. You can use a straight edge or piece of timber to help with leveling.

Step 6: Mix Cement
In a wheelbarrow, mix cement and sand in a 1:4 ratio. Add water slowly until the mixture reaches a consistency similar to toothpaste.
Step 7: Lay the Paving Slabs
Start laying the paving slabs from one corner. Leave an 8-10mm gap between each slab, and use a rubber mallet to tap them into place. Check that the slabs are level using a spirit level, and align them with the string markers.
Step 8: Cut Slabs (If Needed)
If the slabs need to be trimmed to fit the edges or odd-shaped areas, use a diamond blade saw or a hammer and chisel.
Step 9: Fill the Joints
Once all the slabs are in place, sweep kiln-dried sand into the joints to hold the slabs securely.
Step 10: Finishing Touches
Check the level of the entire surface and make any necessary adjustments. Finally, clean up by sweeping off any excess sand.
Laying paving slabs on sand is a fulfilling DIY project that can dramatically enhance your outdoor space. By following these simple steps, you’ll create a sturdy, attractive surface that adds both value and beauty to your home.


