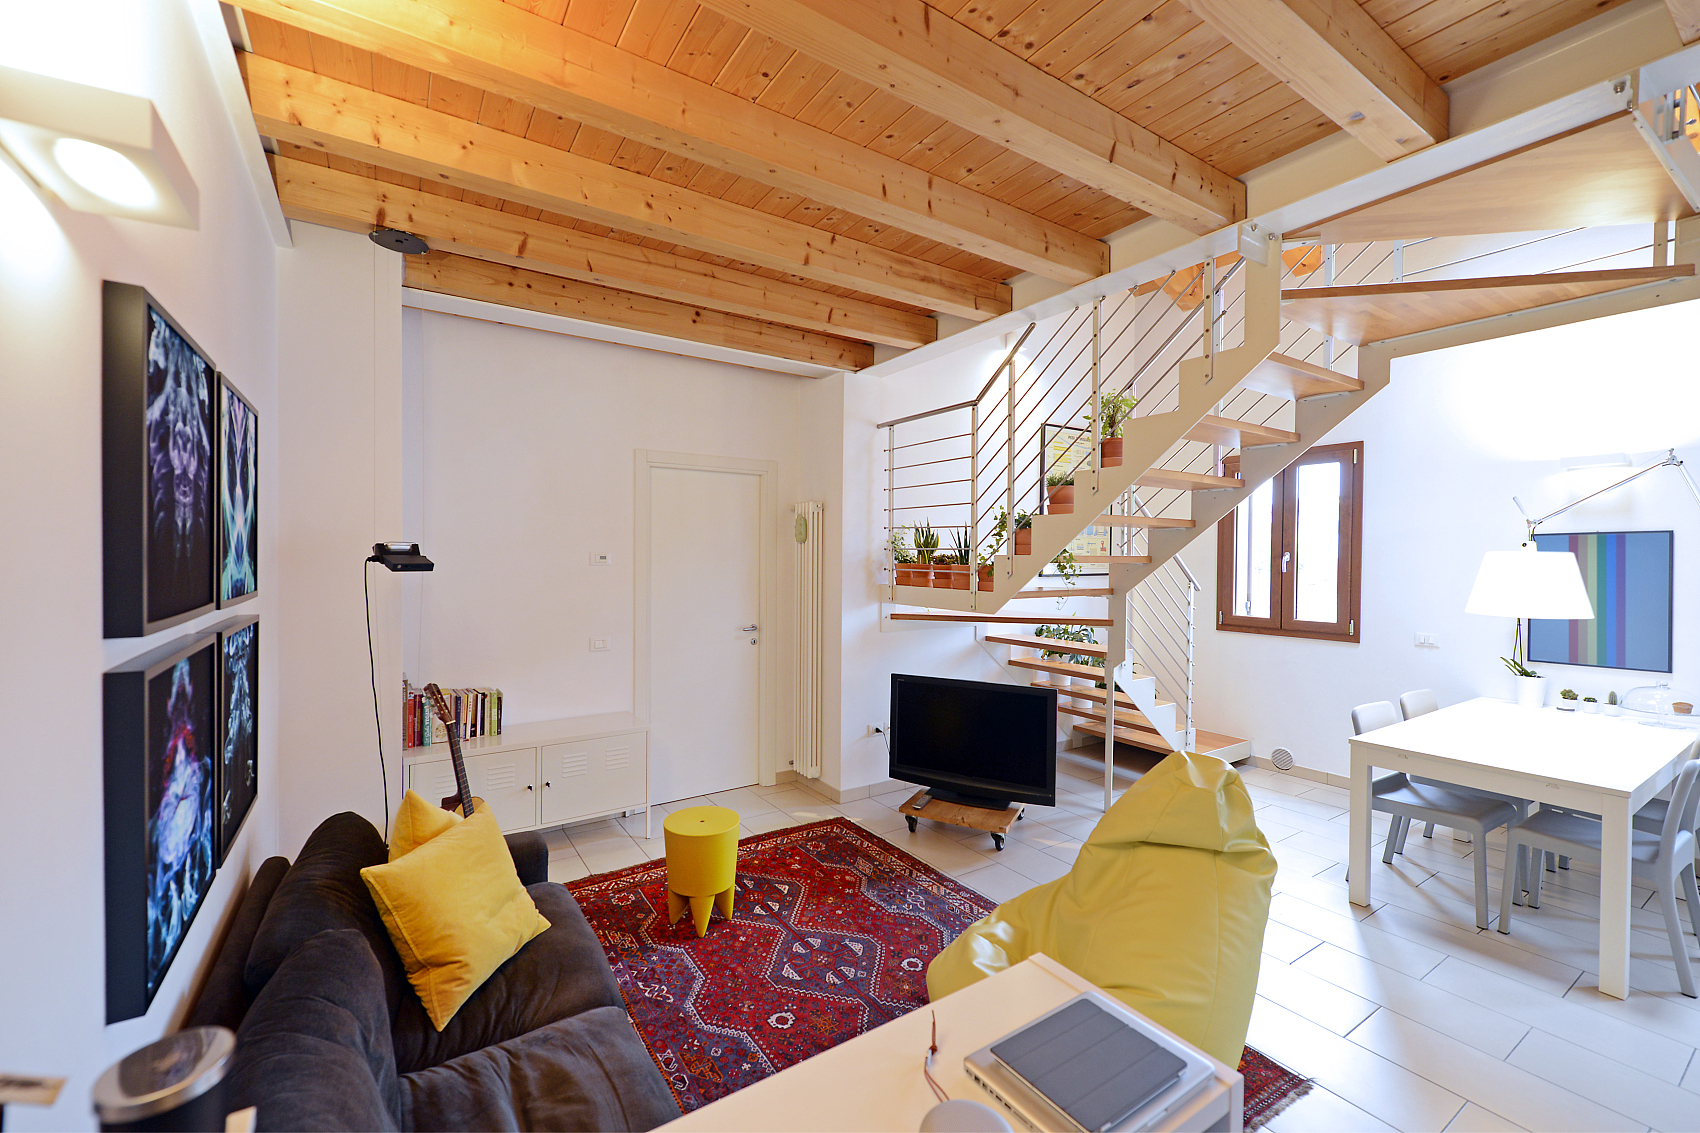
If your home’s floors are starting to show signs of wear—like fraying carpet fibers, stains, or scratched hardwood—it might be time for a change. Installing new carpet is an excellent option. Not only does it look great and feel soft underfoot, but it also helps insulate the room by reducing heat loss and sound.
Carpet comes in a variety of colors and designs, so you’re sure to find one that suits your space. You can hire professionals to install it, but if you’re handy and want to save some money, installing carpet yourself is totally doable. Plus, you’ll get the satisfaction of knowing you did it yourself.
Before You Begin
First things first, make sure you have the right protective gear. Knee pads, gloves, safety glasses, a mask or respirator, and closed-toe shoes are essential to keep you safe while working. Carpet installation can involve working in awkward positions, so take regular breaks to stretch or have a second person help out if possible.
Also, measuring the room correctly is crucial. Measure the length and width of the room, and add 2 to 4 inches to each measurement. This extra material will give you some leeway in case you need to make adjustments during the installation process.
What You’ll Need
Tools:
- Tape measure
- Screwdriver
- Vacuum
- Tack strip cutter or hand saw
- Hammer
- Utility knife
- Staple gun
- Seaming iron
- Knee kicker
- Carpet stretcher
- Carpet edging tool
- Wide-blade carpet chisel
Materials:
- Carpet tack strips
- Tack strip nails
- Carpet padding
- Duct tape
- Carpet
- Heat-activated seaming tape
- Transition strips
Step-by-Step Carpet Installation
1. Prepare the Area
If there’s any old carpet or flooring, remove it first. Once the subfloor is exposed, vacuum up any dust or debris. If the room has doors that swing into it, remove them temporarily until the installation is done.
If you’re replacing carpet, you can usually leave the baseboards in place. However, if you’re installing carpet where there was hardwood, you may need to remove and reinstall the baseboards after the carpet is laid to make sure everything lines up properly.
2. Install Carpet Tack Strips
Measure the perimeter of the room and cut the tack strips to the appropriate size using a hand saw or tack strip cutter. Position the strips with the tack points facing the walls, making sure the strips meet at the corners and don’t cross doorways. Leave a small gap (about two-thirds the thickness of the carpet) between the tack strips and the wall. Nail the strips into the subfloor, or use masonry tacks or adhesive if you’re working with concrete.
3. Lay the Carpet Padding
Measure and cut the carpet padding to fit the room. The padding should be slightly smaller than the room, so it doesn’t extend over the tack strips. Use a utility knife to cut the padding and a staple gun to attach it to the tack strips. Tape seams between padding pieces with duct tape. If you’re installing over concrete, use a recommended adhesive to secure the padding in place.
4. Measure and Cut the Carpet
Measure the carpet carefully, adding 4 to 6 inches to your room measurements to ensure you have enough material. Unroll the carpet and cut a piece to the right size. Use a utility knife and straight edge or chalk line to mark your cutting line. Place the carpet over a scrap piece of wood and cut along the line.
5. Unroll the Carpet and Secure the Seams
Start by unrolling the carpet in one corner of the room. You should have 2 to 4 inches of overlap against each wall. This extra material is needed to stretch and anchor the carpet properly. If you have seams, lay heat-activated seaming tape between the carpet pieces. Use a seaming iron to heat and bond the tape, pressing it down for 8 to 10 seconds at a time.
6. Anchor and Stretch the Carpet
Once the seams are secure, anchor the carpet to the tack strips using a knee kicker. Begin at one corner, placing the kicker about 3 inches from the wall and using your knee to press the carpet onto the tack strip. Work your way along the wall, ensuring each section is securely anchored. Then, use a carpet stretcher to stretch the carpet across the room. Repeat the process for the remaining edges of the room.

7. Trim the Carpet
After the carpet is stretched and anchored, trim the excess carpet along the walls using a carpet edging tool. Press the carpet tightly against the baseboards and trim with the tool’s blade. If you prefer, use a utility knife with a new blade for a cleaner cut. Be sure to work carefully to avoid damaging the carpet or baseboard.
8. Install Transition Strips
The final step is to install transition strips where the carpet meets different types of flooring, like tile or hardwood. These strips fit over the edge of the carpet and are nailed into the floor to create a smooth transition between the two surfaces.
Finish Up
Replace any doors, baseboards, or trim you removed during the installation. Vacuum the new carpet to remove any dust, debris, or leftover fibers. Once you’re done, you can move your furniture and appliances back into the room.
And that’s it! With some time, patience, and the right tools, you’ve just installed a brand-new carpet that looks and feels great.


