Skimming plasterboard (also known as drywall or gypsum board) is an essential step if you want a perfectly smooth finish on your walls or ceilings. Whether you’re doing some home renovations, finishing up a basement, or tackling a DIY project, knowing how to skim properly can really elevate the look of your space.
What is Skimming?
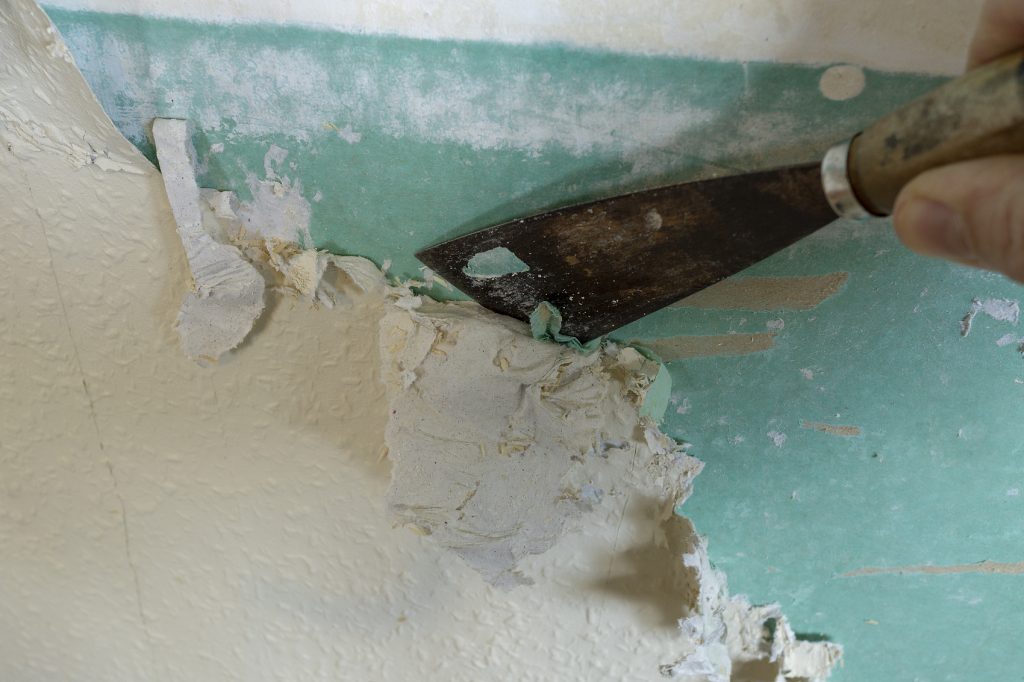
In simple terms, skimming is the process of applying a thin coat of plaster or joint compound over a wall or ceiling to create a smooth surface. It’s used to cover up any rough spots, seams, or joints, making the surface look even and seamless. This is typically done after drywall has been installed, to get it ready for painting, wallpapering, or any other decorative treatment.
How to Skim Plasterboard
Here’s a step-by-step guide to skimming plasterboard:
1. Surface Prep: Start with a Clean Slate
Before you start, make sure your plasterboard is clean and dry. Remove any dust, dirt, or loose paper. If there are rough spots or minor imperfections, smooth them out so you have a good base to work on.
2. Mixing the Joint Compound
Mix your joint compound or plaster according to the instructions on the package. You want it to be smooth and free of lumps, as this will be your main material for creating that nice, even finish.
3. Apply the First Coat
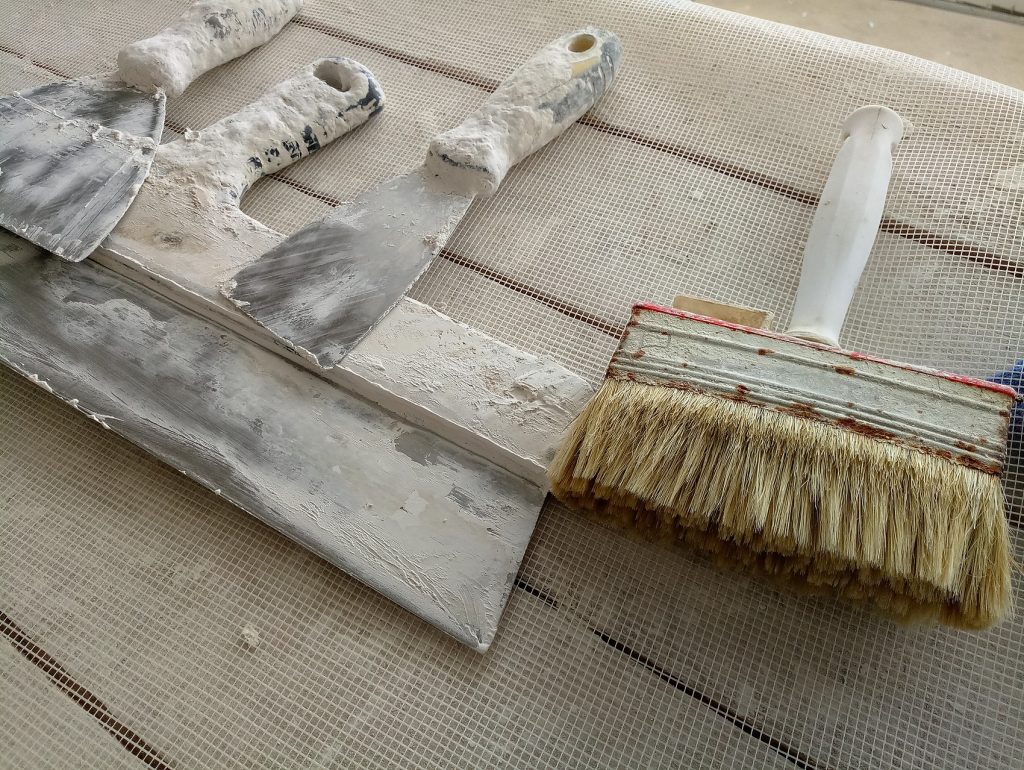
Grab a trowel or a broad knife, and spread a thin layer of joint compound over the surface. Start at the top and work your way down, covering the entire area evenly. This first coat is all about filling in minor gaps and creating a base for the next layers.
4. Embed Tape for Joints (If Needed)
If you’re covering joints between plasterboard panels, embed a strip of paper tape into the wet compound to reinforce these seams and prevent future cracks. Smooth it out carefully, making sure there are no air bubbles.
5. Apply Additional Coats
Once the first coat is completely dry (usually overnight), add more coats as needed. Each one should be thinner than the last. This gradual build-up helps achieve a smooth finish without adding too much thickness.
6. Sand Between Coats
After each layer has dried, lightly sand the surface with fine-grit sandpaper. This step smooths out any bumps or rough areas, making sure your final coat looks flawless. Remember to wipe off any dust before adding the next coat.
7. Final Touches: Perfecting the Surface
When you’ve finished applying all the coats, do a final sanding to get a perfectly smooth finish. Check for any remaining imperfections and fix them before moving on to the final step.
8. Prime and Finish
Once you’re happy with the surface, it’s time to prime. This seals the plaster and ensures that paint or wallpaper will adhere properly. After priming, you’re all set to paint or wallpaper the surface however you like!
Wrapping Up
Skimming takes patience and attention to detail, but the results are worth it—a smooth, even surface that serves as the perfect base for your creative vision. Whether you choose to paint, wallpaper, or apply other finishes, your walls will look polished and professional.


